Installation
Barbed Wire Fences Installation Steps and Tips
1. Select end and corner locations.
2. Install 6″ × 8′ wood post H-Brace assembly for ends and double corner H-Brace assemblies for corners. Should be installed in ground.
3.5′ to 4′ leaving 4′ out of ground adjust post length if taller fence is required.
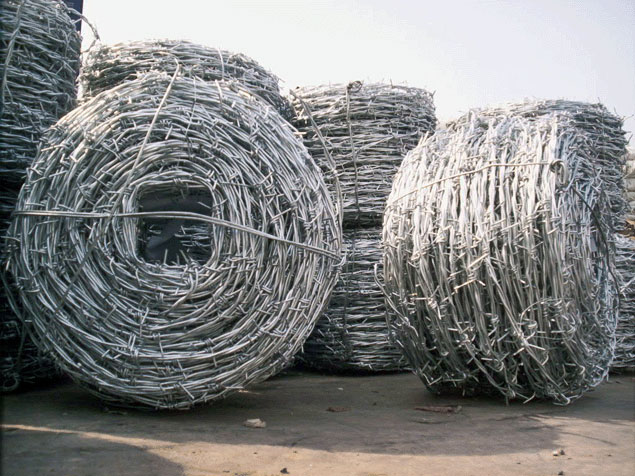
3. Carefully unroll end of 4′ to 8′ of barbed wire and fasten by wrapping around starting post and back onto itself at desired height for lowest strand.
4. Carefully unroll the barbed wire to end of fence.
5. Tension wire with Chain Wire Strainer at end. Cut wire to length and fasten wire at desired height as done at the beginning.
6. Cut barbed wire to length and fasten wire as done at the beginning.
7. The first wire should be adjusted (to obtain a straight line) along the fence line with light tension by picking wire up to a height of 4′ to 6′ then dropping wire. This
process should be repeated until straight line from beginning to end is achieved. This process will allow wire to fall creating a straight line for the fence to follow.
8. Using the first wire as a straight line, install line posts (wood or steel) at 15′ to 20′ apart, adjusting distance as necessary. (High- pressure fences like feed lots will
need heavier posts, closer together.)
9. Fasten barbed wire to T post with wire clip (usually provided with new T posts) and/or staple barbed wire to wood posts leaving room for wire to “float” when stapled (Do
not staple wire tight to post.)
10. When installing line posts make sure that any post that will have strain (vertical or horizontal) on it is stout and secure enough to take the strain. As in wood post 5″ to
6″ × 8′ (multiples if necessary) in dips or other low areas and on crowns or high areas.
11. Repeat necessary process for additional wires.
The additional installation of a one or more “non-barbed” electrified wire can offer an additional “pain barrier” as well as a feeder wire to barbed wire systems.


